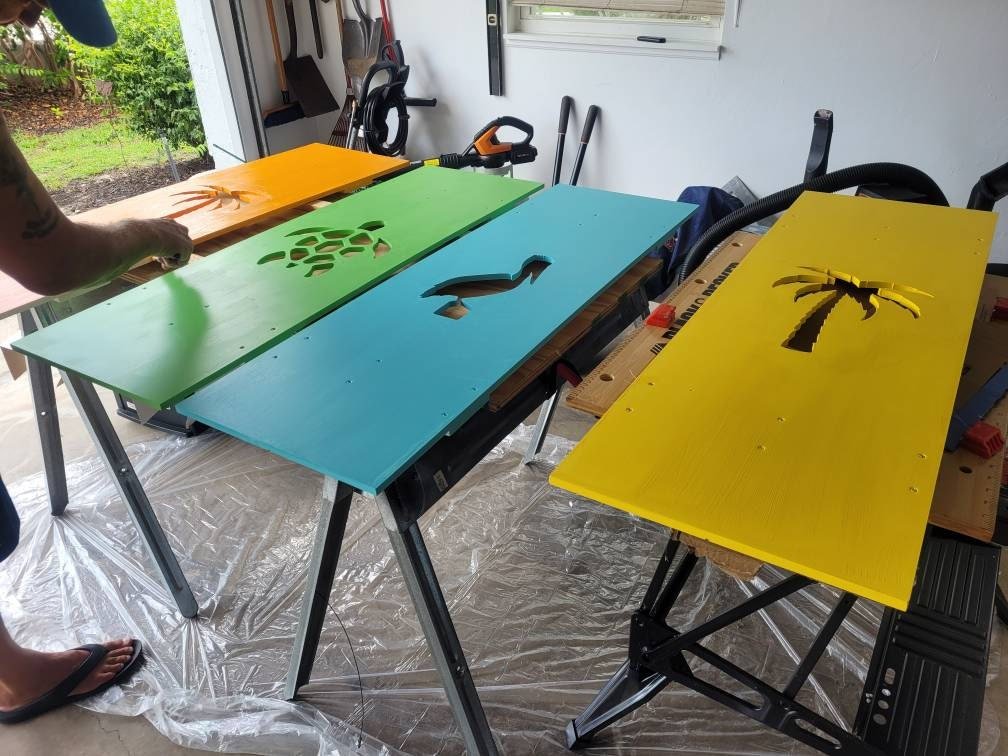
How to Paint PVC Shutters: A Step-by-Step Guide
Share
PVC shutters are a popular choice for homeowners due to their durability, low maintenance, and resistance to weather conditions. However, their plain, white finish might not always match your desired aesthetic. Painting PVC shutters can be a fantastic way to refresh their look and add a personalized touch to your home. Here’s a detailed guide on how to paint PVC shutters effectively, ensuring a smooth, long-lasting finish.
Materials and Tools You’ll Need
Materials:
- PVC shutters
- Mild detergent or Alcohol
- Water
- Rags or sponges
- Exterior-grade paint (acrylic latex or spray paint suitable for plastic)
- Paintbrush or roller (for brush-on paint)
- Drop cloths or newspapers
- Painter’s tape
Tools:
- Paint tray (for brush-on paint)
- Paintbrush or roller (for brush-on paint)
- Paint sprayer (optional, for spray paint)
Step 1: Clean the Shutters
-
Wash with Detergent:
- Clean the PVC shutters with a mild detergent and water solution. Use a rag or sponge to remove any dirt, grime, or old residue. You may also use alcohol.
-
Rinse and Dry:
- Rinse the shutters thoroughly with clean water and let them dry completely before proceeding.
Step 2: Paint the Shutters
****** Avoid painting in extreme temperatures or direct sunlight****
-
Select Paint:
- Use exterior-grade acrylic latex paint or spray paint designed for plastic. Choose a color that complements your home’s exterior.
- For best results, use acrylic or urethane-based latex exterior paints. Well-known brands such as Sherwin Williams, Behr, and Gliden are suitable options.
- Always choose paints with a Light Reflective Value (LRV) of 55 or higher.
- If you plan to paint in a darker color (LRV of 54 or lower), it is crucial to use Vinyl safe paint or paints specifically designed for such applications. (Please refer to your paint manufacturer)
- Latex paints may take 2-4 days to dry completely. Avoid exposing the shutters to dew, high humidity, moisture, or rain during this time.
- For the best finish results, using a sprayer is recommended. However, if a sprayer is not available or feasible, you can apply the paint using a brush or roller directly.
-
Apply Paint:
- Brush-On Paint: Pour paint into a tray and use a brush or roller to apply an even coat. Work in long, smooth strokes to avoid streaks and ensure full coverage.
- Spray Paint: If using spray paint, hold sprayer about 6-8 inches from the surface and apply in light, even coats. Overlap your strokes to ensure uniform coverage.
-
Apply Additional Coats:
- Apply a second coat of paint if needed. Allow the first coat to dry completely before applying additional coats.
Step 7: Install the Shutters
-
Attach Shutters:
- Once the paint and sealer are completely dry, attach the shutters with the mounting hardware.
-
Check Alignment:
- Ensure the shutters are properly aligned and function smoothly.
Tips for a Successful Painting Project
-
Work in a Well-Ventilated Area:
- Ensure you’re painting in a well-ventilated area, especially if using spray paint.
-
Avoid Painting in Extreme Temperatures:
- Avoid painting in very hot or cold temperatures, as this can affect the drying and curing process.
-
Use Painter’s Tape:
- Use painter’s tape to protect any areas you don’t want to paint, such as window trim or adjacent walls.
-
Test Paint on a Small Area:
- Test the paint on a small, inconspicuous area of the shutter to ensure compatibility and desired color.
-
Clean Up:
- Clean your brushes, rollers, and other tools immediately after painting to prevent paint from drying on them.
Painting PVC shutters can give your home a fresh, updated look with minimal cost and effort. By following these steps, you can achieve a professional finish that enhances the curb appeal of your home and reflects your personal style.
